Quickly set your custom ShipTracks settings using the floppy disk. When clicking the save button, the views are stored under the maps tab in the ShipTracks. When you open this panel, you will be able to cycle through all your saved views quickly. Its important to note that every time you click the floppy disk your custom settings are saved once while a map view is created.
The Custom ShipTracks Settings
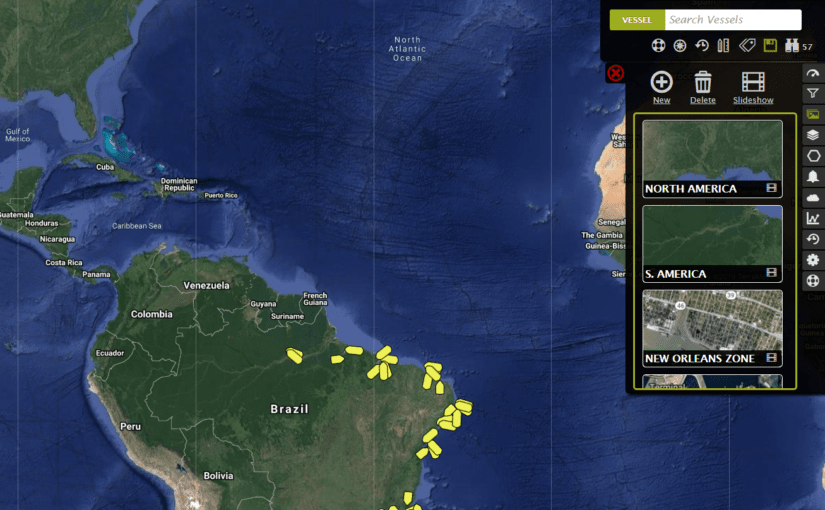
The first thing you want to do is get rid of the noise. No need to see the green clusters when login in. These clusters are a summary of how many vessel are in the region. These, however may not tell you about your operations and therefore not useful.
So the first thing you want to do is create a fleet of relevant vessels. Vessels which are relevant to your day to day operations, and which you and your team need to keep an eye on.
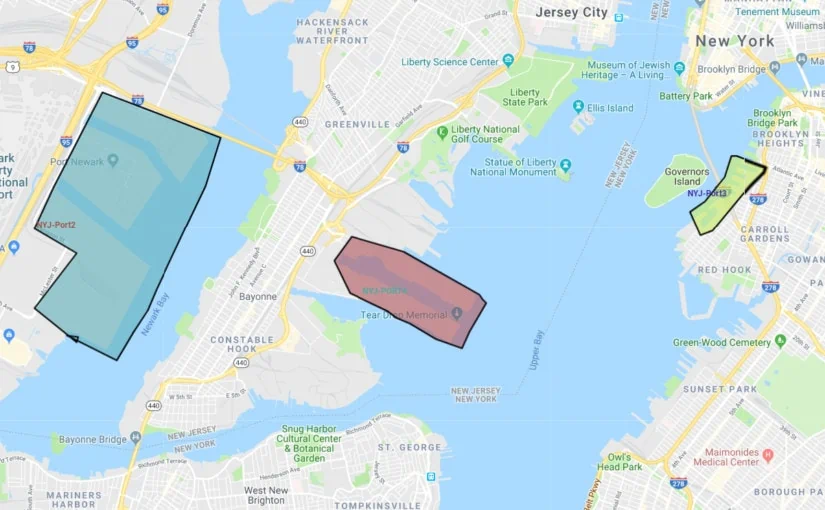
Maybe after creating a fleet or two, you will want to set some zones which you can use to pull reports from and pair alarms with. Zones will help you retrieve historical AIS data quickly.
After creating your fleet, zones, and alarms and turning them on, make sure to zoom in to the geographic region you are interested in most. Click the floppy disk. A box will pop up confirming your settings have been saved. Next time you log in you will view your fleet(s) and geographic region.
Edit Existing Map Views
First open the map tab and then select the map view you want to edit. Close the map tab and either turn on or off the fleets, zones and alarms you need. The defaults should update.
Warning: if you pan or move the map when clicking the save button a new map view will be saved. In order to edit an existing map view do not pan and/or zoom in or out.